strange color change in wood PLA
This problem showed up while printing with JAYO Walnut Wood filament. The print looked like it had been made with two different colors, even though it was printed with one spool, one color, and one print job. The strange part: the lighter areas appeared exactly where parts of the model were being reheated more often.
Normally, wood filament gets darker when printed hotter. But in this case, the exact opposite happened. So I started testing.
In this video, I show:
how print temperature affected the color,
why some areas of the print changed shade,
how layer timing and reheating played a role,
why the filament started behaving almost like foaming filament,
and how I discovered that moisture in the filament was the real cause.
The key conclusion is simple but important:
when this wet wood filament heats up, the moisture turns into steam and causes the material to expand. That means the amount of wood particles and pigment stays the same, but it gets spread across a much larger printed volume. As a result, the print becomes lighter in color and also rougher in texture.
After drying the filament for 8 hours in my SpacePi filament dryer, it printed normally again.
So if your wood PLA is printing with strange color shifts, rough surfaces, or unexpected dimensional changes, don’t just look at nozzle temperature. Check whether your filament is wet.
If you enjoy real-world 3D printing troubleshooting, practical testing, and honest results, make sure to subscribe to the channel.
Have you seen something similar with wood filament, PLA wood, or another specialty filament? Let me know in the comments.
#3DPrinting #WoodFilament #WoodPLA #PLA #FilamentDrying #WetFilament #3DPrintTroubleshooting #BambuStudio #JAYO
Buy me a coffee or a spool of filament:
https://support.3d-printcreator.com (Paypal)
Find my designs on MakerWorld and print them for FREE:
https://makerworld.com/nl/@3d_printcreator/uploadShow More

Now Playing
strange color change in wood PLA
Have you ever seen wood filament print lighter at higher temperatures, even though it should normally get darker? In this video, I investigate a very strange color change in wood …PLA that had me confused for days.
This problem showed up while printing with JAYO Walnut Wood filament. The print looked like it had been made with two different colors, even though it was printed with one spool, one color, and one print job. The strange part: the lighter areas appeared exactly where parts of the model were being reheated more often.
Normally, wood filament gets darker when printed hotter. But in this case, the exact opposite happened. So I started testing.
In this video, I show:
how print temperature affected the color,
why some areas of the print changed shade,
how layer timing and reheating played a role,
why the filament started behaving almost like foaming filament,
and how I discovered that moisture in the filament was the real cause.
The key conclusion is simple but important:
when this wet wood filament heats up, the moisture turns into steam and causes the material to expand. That means the amount of wood particles and pigment stays the same, but it gets spread across a much larger printed volume. As a result, the print becomes lighter in color and also rougher in texture.
After drying the filament for 8 hours in my SpacePi filament dryer, it printed normally again.
So if your wood PLA is printing with strange color shifts, rough surfaces, or unexpected dimensional changes, don’t just look at nozzle temperature. Check whether your filament is wet.
If you enjoy real-world 3D printing troubleshooting, practical testing, and honest results, make sure to subscribe to the channel.
Have you seen something similar with wood filament, PLA wood, or another specialty filament? Let me know in the comments.
#3DPrinting #WoodFilament #WoodPLA #PLA #FilamentDrying #WetFilament #3DPrintTroubleshooting #BambuStudio #JAYO
Buy me a coffee or a spool of filament:
https://support.3d-printcreator.com (Paypal)
Find my designs on MakerWorld and print them for FREE:
https://makerworld.com/nl/@3d_printcreator/uploadShow More

Now Playing
Acmer P1 S Pro Laser Review, This One Setting Makes It Much Better
The Acmer P1 S Pro is a 6W diode laser engraver, but it turns out this machine is actually better than the manufacturer claims! In this in-depth Acmer P1 S …Pro review, I show you which setting you should change immediately to get sharper engravings and better results than the manual recommends.
Buy the Acmer P1 S Pro here:
https://acmerlaser.com/products/acmer-p1-s-pro-laser-engraving-machine
(Not an affiliate link)
In this video, I take a detailed look at the Acmer P1 S Pro 6W laser engraver, including assembly, build quality, safety, software compatibility, and real engraving performance. But most importantly, I explain why the recommended DPI in the manual is not optimal, and how adjusting this setting really improves engraving quality.
What you will learn in this video:
– Why the Acmer P1 S Pro is better than the manual suggests
– The correct DPI settings for the 6W diode laser
– How dot size affects engraving sharpness and photo quality
– A practical defocus trick for faster engraving without loss of quality
– Build quality pros and cons including frame rigidity and roller alignment
– Safety considerations for open-frame diode lasers
– Compatibility with LightBurn and LaserGRBL
– Real-world engraving results on wood and anodized aluminum
The Acmer P1 S Pro uses a 6W blue diode laser with a very fine spot size, which allows for much higher engraving detail than the default 318 DPI suggested by Acmer. By adjusting the DPI to 363 DPI, photo engravings become noticeably sharper with smoother gradients and better detail separation.
This laser engraver is aimed at demanding hobby users and small businesses who want high engraving quality without spending thousands on an enclosed Diode laser. While it lacks enclosure and fume extraction, the engraving performance for the price is genuinely impressive.
Safety note:
Always use proper laser safety glasses rated for 445nm blue diode lasers with at least OD3 protection. Never rely solely on magnetic shrouds or included accessories.
If you found this video useful, please consider liking the video and subscribing to the channel for more laser engraving and maker content.
Buy me a coffee or a spool of filament:
https://support.3d-printcreator.com (Paypal)
Find my designs on MakerWorld and print them for FREE:
https://makerworld.com/nl/@3d_printcreator/upload
#acmer #acmerP1SPro #laserengraving #diodelaser #lightburn #maker #smallbusiness
0:00 Acmer P1 S Pro overview
0:29 Unboxing and first impressions
2:09 Build quality and assembly time
2:47 First engraving and safety concern
3:19 Frame rigidity and roller alignment
3:57 Control box and connections
4:26 WiFi and software limitations
6:22 Laser spot size and technical specs
6:44 Why the manual DPI is wrong
7:03 Best DPI settings for sharper engravings
7:32 Faster engraving defocus trick
8:04 Engraving results on wood and aluminum
8:30 Laser safety and eye protection
9:09 Who this laser is for
9:46 Open frame limitations and fumes
10:19 Final verdict and recommendation
10:47 Smaller Acmer laser comparison
11:31 Subscribe and closingShow More

Now Playing
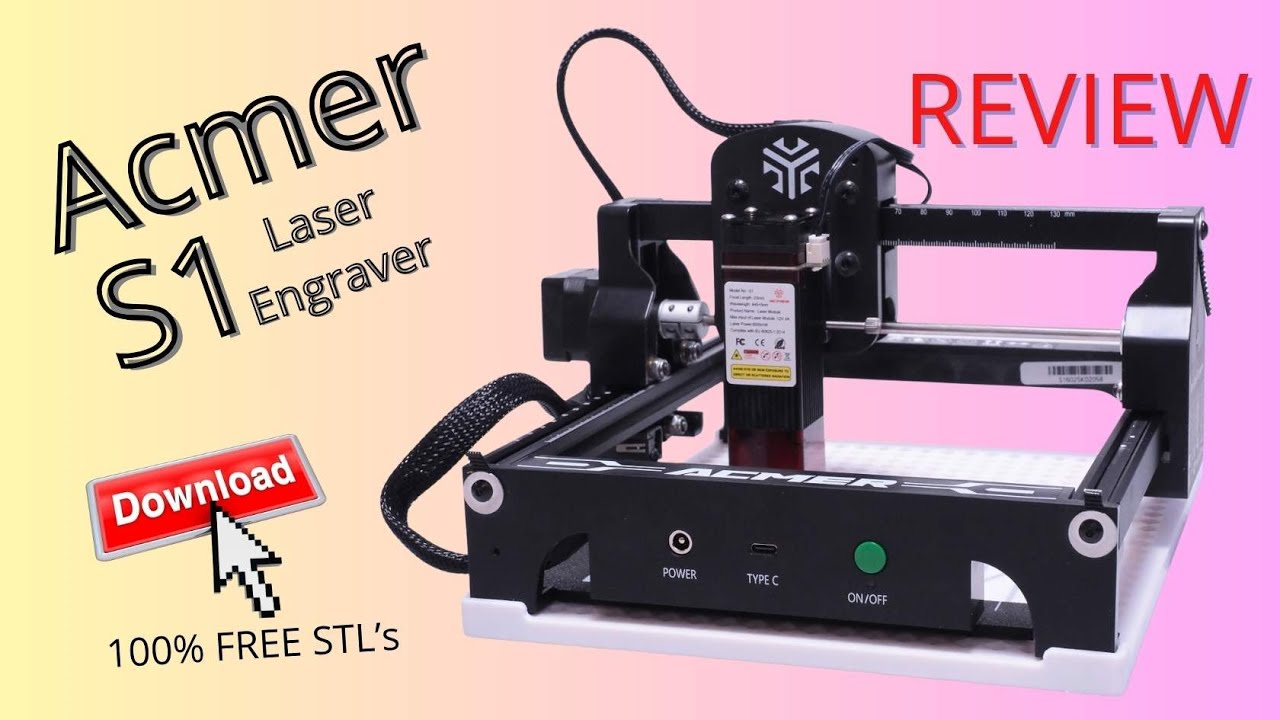
ACMER S1 Laser Engraver Review – Ultra Sharp Engraving Under $150
Buy the Acmer S1 here:
https://eu.acmerlaser.com/products/portable-laser-engraver-mini-machine
Download the 3D printable Acmer S1 table and tools here:
https://makerworld.com/nl/models/2204943-acmer-s1-modular-positioning-cable-management
In this review I test the ACMER S1 laser engraver and compare it directly to one of …my professional 24W diode laser engravers.
Despite its very low price, the ACMER S1 delivers extremely sharp engraving results thanks to its ultra small laser spot size of just 0.04 to 0.06mm, depending on the model.
In terms of engraving detail and precision, this compact desktop diode laser performs far beyond what you would normally expect from Diode lasers in general, and especially in this price range.
The ACMER S1 is available in 2.5W, 3.5W and 6W versions.
In this video I test the 6W version, but I also explain why the lower power versions can actually be even sharper when it comes to fine detail engraving, single line fonts and line drawings.
If your main goal is engraving small objects, thin materials or highly detailed designs, this laser engraver is a very interesting option.
This is a small, lightweight and portable open frame diode laser engraver with a working area of 130 x 130 mm. It connects via USB and works with popular laser software such as LightBurn and LaserGRBL. Because of its compact size, the ACMER S1 fits easily on a desk and can even be used on location with a laptop and a suitable 12V power source.
This video focuses primarily on engraving quality.
While the ACMER S1 is technically capable of light cutting with enough passes, this is not a cutting laser. If you are mainly looking for cutting thick wood or acrylic, this is not the right machine.
The real strength of the ACMER S1 is high precision laser engraving.
I also discuss important safety considerations.
The ACMER S1 is an open frame diode laser and lacks features such as a tilt switch, fire detection and an emergency stop. This means the laser should never be left unattended.
In the video I explain these limitations honestly and show how I personally work with this machine in a safe way.
To improve usability and safety, my son and I designed several practical 3D printed accessories, including a print bed and alignment tools.
These files are available for free via my MakerWorld account and can help you get more accurate and consistent engraving results.
If you are interested in fine detail engraving, single line fonts, small text, logos, names or personalized items, the ACMER S1 laser engraver delivers outstanding results for its price.
Even when compared to a much more powerful 24W diode laser, the engraving sharpness of the ACMER S1 is truly impressive.
⏱ Chapters:
00:00 ACMER S1 vs 24W Diode Laser – Engraving Comparison
01:05 ACMER S1 Specifications and Versions
01:38 Ultra Small Laser Spot Explained (0.04mm – 0.06mm)
02:22 Single Line Fonts and Fine Detail Engraving
03:06 Can the ACMER S1 Cut Wood?
03:34 Software: LightBurn and LaserGRBL
04:15 Laser Safety Concerns Explained
05:06 3D Printed Accessories for the ACMER S1
06:03 Final Verdict – Is the ACMER S1 Worth Buying?
If you enjoyed this review, please give it a thumbs up and consider subscribing.
More laser engraver reviews, comparisons and practical projects are coming soon.
Buy me a coffee or a spool of filament:
https://support.3d-printcreator.com (Paypal)
Find my designs on MakerWorld and print them for FREE:
https://makerworld.com/nl/@3d_printcreator/uploadShow More

Now Playing
Perfect 3D Scan Alignment for CAD (Stop wasting time!)
Struggling with crooked 3D scans in Fusion 360 or other CAD software? In this video, I show you the most efficient workflow to get a perfect 3D scan alignment for …CAD using tools you already own.
While the new Creality Scan 4 1.5.13 update introduced an alignment feature, it’s often faster and more precise to use a 3D slicer for your orientation. Whether you use Bambu Studio, Orca Slicer, or Creality Print, I’ll demonstrate why your slicer is actually a powerful coordinate correction tool.
In this tutorial, you will learn:
How to fix the orientation of a Creality Scan 4 mesh for better CAD integration.
Why a slicer provides better flat bases and automatic mesh repair than the native scanner software.
The step-by-step process of exporting a scan to Fusion 360 with the correct origin.
A side-by-side comparison between Creality’s new alignment tool and the slicer-based method.
This “Any Slicer” method is a game-changer for anyone doing reverse engineering or 3D scanning for 3D printing who wants to save time and improve accuracy.
⚠️ Important Note: This method is perfect for visual alignment and statues. For professional engineering that requires true world-coordinate or origin referencing, please check my dedicated deep-dive video linked below!
Learn how to orient your scan in Fusion here:
https://www.youtube.com/watch?v=cDD7NwLf_q8
Tools Used:
3D Scanner: Creality Raptor Series (but this goes for ANY scanner)
Software: Creality Scan 4 (v1.5.13)
Slicers: Bambu Studio / Orca Slicer / Creality Print / Etc.
CAD: Autodesk Fusion
#3DScanning #CrealityScan4 #Fusion360 #3DPrinting #BambuStudio #ReverseEngineering #3DScanner
0:00 Stop wasting time with bad alignment
0:32 The problem with manual alignment in Creality Scan 4
1:58 Why eyeballing alignment is far from perfect
2:38 Exporting the “Creality Aligned” version
3:13 The alternative: Starting with a messy, unaligned scan
4:04 Checking the alignment issues in Fusion 360
5:36 The “Any Slicer” workflow (Bambu Studio / Orca)
6:51 Using the slicer’s precision tools for orientation
7:57 Creating a perfect flat base (The Slice Tool)
8:20 Automatic Mesh Repair during slicing
9:53 Exporting the repaired and aligned STL
11:15 Result comparison in Fusion 360: Slicer vs. Native
12:35 Conclusion: Why your slicer is the better tool
14:35 Outro: Subscribe for more scanning tips
If this helped you, please like and subscribe for more 3D scanning and 3D printing tutorials.
Buy me a coffee or a spool of filament:
https://support.3d-printcreator.com (Paypal)
Find my designs on MakerWorld and print them for FREE:
https://makerworld.com/nl/@3d_printcreator/uploadShow More

Now Playing
Bambu Lab AMS filled with Broken Filament? | Here is the fix.
Fixing broken filament inside your Bambu Lab AMS can be tricky, especially with the original AMS that came with the P1 and X1 series printers.
Did this video help you, …and did it save you from hours of frustration?
Please buy me a coffee or a spool of filament here:
https://support.3D-PrintCreator.com (Paypal) Thanks!!!
In this video, I’ll show you exactly how to locate and remove jammed or broken filament pieces from your AMS -step-by-step-.
We’ll take the AMS apart safely, check the PTFE tubes, clear the internal hub, and reconnect everything properly (this includes a PRO TIP). This works for the Original Bambu Lab AMS, compatible with P1P, P1S, and X1C printers and almost all other Bambu Lab printers.
Whether your filament snapped inside the PTFE tube or in the Internal HUB, or your AMS won’t load filament anymore, this guide will help you get your printer back to work in minutes.
What You’ll Learn
– How to remove broken filament from the original Bambu Lab AMS
– How to identify where the filament is stuck (PTFE tube or internal hub)
– How to safely disconnect and reassemble the AMS
– How to test that all channels are clear
🧰 Tools Used
Basic hex screwdriver
About 60cm of GREEN filament (for testing)
📦 Works with:
✅ Bambu Lab AMS for P1 and X1 series printers
✅ The original AMS (not AMS-HT or AMS 2)
💡 Tips
If your AMS keeps jamming, try drying your filament or checking for sharp bends in the PTFE tubes.Show More

Now Playing
Bambu Lab Part Cooling Fan Exploded – What Really Happened Inside?
If your Bambu Lab printer has a broken part cooling fan, and shows the error “0300-3100-0001-0001” or “part cooling fan stopped,” this video explains what causes it and why not …to ignore it.
At first, the printer itself showed this error on screen, but nothing appeared inside Bambu Studio, and all my prints came out perfectly fine.
So I ignored it… until I found small pieces of black plastic inside my prints and later on my print bed.
After investigating, I discovered that my part cooling fan had literally exploded inside the housing! The fan was still spinning (or at least felt like it was), but the blades were completely gone.
According to the official Bambu Lab Wiki this error can mean:
– The fan is stuck by debris or filament strings
– The connector is loose
– The fan itself is broken
In my case, the fan motor worked — but the blades disintegrated, probably due to a small piece of filament getting inside.
If you ever see this error, don’t ignore it — check your part cooling fan carefully with good lighting and listen for rattling sounds.
00:00 Intro — The mysterious error
00:17 HMS_0300-3100-001-001
01:04 False alarm?
01:23 No problems with printing
01:46 First signs of a real problem
02:42 Detaching the part cooling fan
04:41 ConclusionShow More